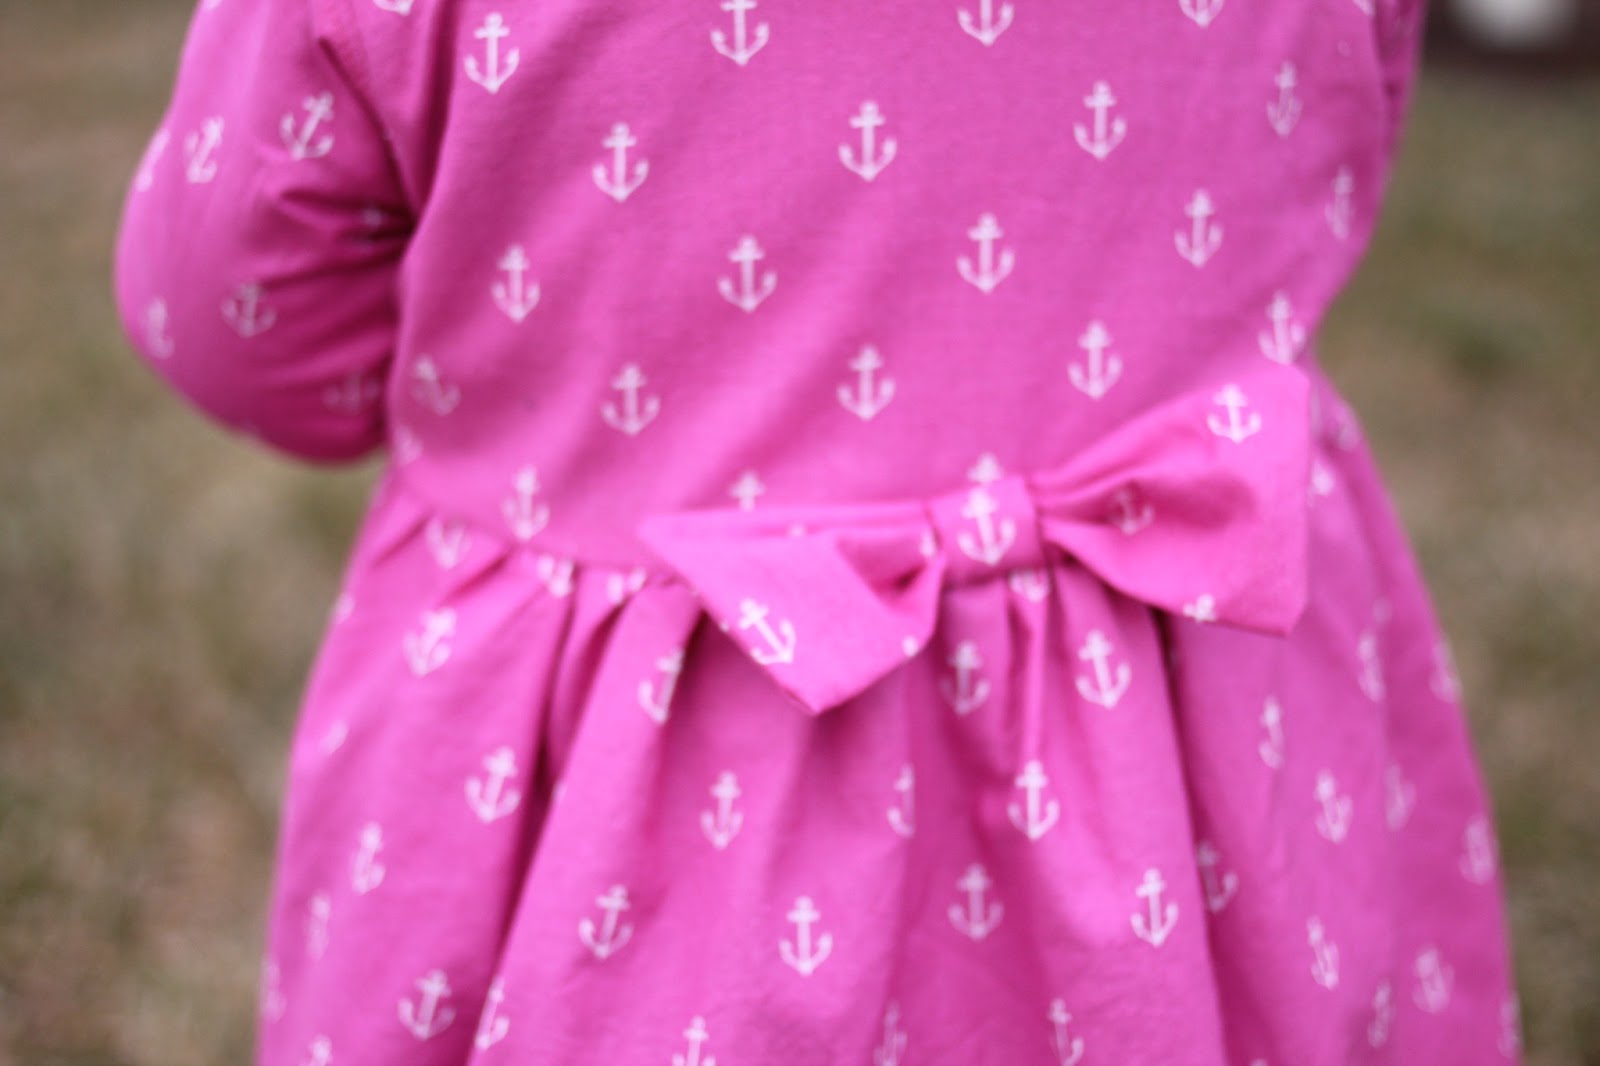
Friday, January 25, 2013

Friday Firsts

Tonight will be Gracie's first night with a babysitter. Cue the "hallelujah" chorus behind me!
I love this little girl, but I love her daddy as well. And I am pretty excited for a dinner out with just him.

So to ease the blow for her, I made her a new shirt.
I don't think she sees this as a fair exchange. 
But I just love this heart print knit. I bought it to make infinity scarves for my shop, which sold out faster than I could sew them, so I guess others must have loved the print too! I had enough of a scrap left, which was destined to be a comfy new tee for my little miss. The cuffs and the collar I cut from an old ribbed tank.
I'm not sure what it is about a chunky toddler in a soft and cozy tee. But its pretty irresistible!
Maybe its the big belly? The chubby little baby hands? Mmmm. Just makes me want to snuggle her up.
Which I think I will get back to, because she will probably appreciate that more than a new shirt. ;)

Have a great weekend all! 
And don't forget to enter my "Share the Love" giveaway! You can find that post here!

Wednesday, January 23, 2013

200 Likes "Share the Love" Giveaway!

I am so thrilled to have so many new friends over at my facebook page, LittlePinkPeony, and to say my big THANKS! I decided to do a GIVEAWAY! Because who doesn't love a giveaway?

Want to enter? It's pretty simple! "Like" the Little Pink Peony facebook page to earn one entry. {If you already like the page, that still counts! :)} Share the Little Pink Peony facebook page on your own facebook wall to earn you two entries!

Enter through Rafflecopter below:


The winner will win one "rose garden" Valentine's dress in the size of their choice! {3 months thru 5T}.
This giveaway will run now through Sunday, January 27th at 11:59 pm. Good luck!!

Monday, January 21, 2013

Oh BOY! PR&P Sew Along, Week 3

Here we are at week 3 of the Project Run & Play Sew Along challenge! BOY week! And I have a confession to make. Last week when I posted about the stripes and polka dots dress I made for Gracie, I may have said there is nothing cuter than a little girl in stripes. I misspoke. There is something cuter than a little girl in stripes.
It's a little boy in stripes.  
How have I held off on boy clothing for so long?

I get asked quite frequently by my mom friends & customers when I will start selling boy clothes in my etsy shop. Well, I have a second confession to make. Boy clothes scare me. How do I make an outfit my own without making it over the top? You can't just add ruffles and bows and call it a day.

I tried to keep it simple by making a couple of basic pieces, but also adding a few details to make them cute. Or am I supposed to say handsome? I am new to this boy stuff so forgive me while I figure out the correct lingo.
So for this busy little man, I wanted to make him a practical outfit that he could actually get some use out of. I thought some sweat pants would be perfect. I made a basic pair of sweats out of navy fleece, but added the green and white track stripe down the side. {Track stripe? Too 1970's? Again, still figuring out this lingo.}
It was a very easy addition, which I thought about doing a tutorial for, but really...it would be a very short tutorial. I just cut strips of interlock and sewed them down the sides. Just remember to do this before you sew up the legs. Since knit fabric doesn't fray, there was no need to iron the edges under. 
Then there's his top. I actually had made this as a traditional t-shirt. Well let me tell you, something went astray. When I brought it over to Blake's house to try it on, low and behold, no amount of stretching or pulling was getting that shirt over poor Blake's head. So I moved onto plan B. 
I raided the hubby's closet for a polo. After studying how the collar was constructed, I made a button placket on the front of the shirt, and out came a mock polo. 
I wish I could say this was easy for me. It was not. I had to redo the placket 3 different times. But I loved the challenge it gave me, and am happy I stuck with it. There are definitely imperfections, so don't look too close, but for making it up as I went along, I was excited at how it turned out. 
I love that I got to use two of my favorite prints - stripes and gingham. The fabric does all the talking with boy clothes! No need to add buttons or bows or ruffles or sashes. It's kind of like back to basics with the boys. And that was fun! The stripes may look familiar :) but I love that I had all the fabric for this outfit in my stash already! 
So I think I have officially gotten over my fear of boy clothes. My head is already spinning with ideas for a Little Pink Peony boy line for summer....so stay tuned for that! :) 
And stay tuned for the next few weeks of this Sew Along challenge...it has been so fun creating a new outfit each week that I can't wait for next week. Which is a Valentine's Day theme. So excited to show you what I have in the works! :)

Now head over to this weeks Link Party and check out all the other inspiring creations!

Thursday, January 17, 2013

{52 Dresses} Feature...and a GIVEAWAY!

I am so beyond excited to share this with you! Amy Earle from Simply B Photos contacted me a while back with an invitation to join her {52 Dresses} project. After hearing about the project, I gave her an enthusiastic YES!
You can go to her blog to learn more, but the general gist of the 52 Dresses project is that Amy is collecting dresses from different clothing boutiques, and photographing her darling daughter in them. One per week, hence the title.
And at the end of the year, the dresses she collects will be donated to little girls in need in Johannesburg, South Africa! It was an amazing feeling sewing this dress knowing it will light up a little girls life just a little to have a pretty new dress made with love.
Amy chose my "Miss Betsy" dress for her daughter to wear for this photoshoot. {This specific dress is sold out now, but am working on relisting it soon!} Considering her daughter's name is Betsy, it was a perfect choice!
She was kind enough to share with me the photos from her photo shoot. Simply stunning.
And the awesome thing about the {52 Dresses} project? Each week Amy includes a GIVEAWAY, and this week you have the chance to WIN a FREE DRESS from my Etsy shop. Who doesn't love free stuff?! It's super simple to enter. Just hop on over to Amy's blog, HERE, and follow the rafflecopter instructions on how to enter! 
[And then be prepared to spend hours on her site drooling over her gorgeous photos. I totally just did!]
Thanks so much Amy for the gorgeous photos and for 
including me in such a heartwarming and wonderful project!

Monday, January 14, 2013

Stripes & Polka dots {Project Run&Play Sew Along}

Let me start off this post by saying how humbled and honored I was to learn this morning that I had won Project Run & Play's sew along challenge last week! {You can see the Anchor trench coat here.} I had so much fun creating, sewing, and blogging again. It was just the jump start I needed to dust off this little blog! So thank you so much for all the kind words from everyone! There were so many great entries, so please make sure you pop over to the link party and check them all out. So much inspiration!!

This weeks challenge was to create a garment using stripes & polka dots. Oohhh, now they were speaking my language. I just adore stripes and polka dots. And a little girl in stripes and polka dots? I couldn't even contain myself.
I have to confess that I actually started creating this dress for the first weeks challenge, the pattern remix challenge, using  the Party Dress pattern from the Cottage Home. But after I paired the stripes with the dots, I decided it was actually perfect for this week's challenge instead.
I made the dress out of a jersey knit with wide navy and white stripes. It has the perfect amount of stretch for this little busy body to run and play in. 
I made the dress the same as the pattern, except because I used jersey knit, I only used one button in the back, as the bodice can stretch while dressing. I just love a big ol' fabric covered button, don't you? {I also think I need a lesson in how to tie sashes on a toddler who refuses to sit still for longer than .3 seconds!}
The red and white polka dot sash and bow on the neckline and fabric covered button in the back are such a fun contrast to the big stripes! It's like the fourth of July in January! And since this IS January, and it IS still winter here in PA, and despite my desperate attempts at keeping my little girl little, she might not fit into this dress this summer {sniff, sniff...} So I decided we should probably find a cardigan to go with it, so she could get some use out of it now.
I found this red long sleeved shirt in our hand-me-down box, and thought it would be a perfect knit cardigan. So I simply cut it down the middle, hemmed the edges, and voila! It literally took me less than 5 minutes! 
A great use of those extra hand-me-downs or thrift store finds. {I might even look for a few shirts in my own closet to do this to!}
I also made the headband to match. I happened to have the red polka dot elastic in my drawer. I bought it months ago at Hobby Lobby on clearance. It is baby elastic and super soft, which is the only way my girl will tolerate a headband, so it really was perfect for this project! It was almost easier than the cardigan. I just sewed it together and made a quick bow out of ribbon.
So that's that! Thanks for stopping by and sharing Gracie's new outfit with us!
I had so much fun putting together this sweet little outfit for this sweet little lady! 
Next up...BOY week!

Don't forget to pop over to this weeks PR&P link party to see all the other awesome striped and polka dotted entries!


Thursday, January 10, 2013

Sew Along Challenge, Week 1

Week 1 of the Project Run & Play challenge is here! If you are following me on Facebook, you know that I have decided to join in the 6 week Sew Along challenge. (You can read all about the challenge here!) This weeks challenge was to "remix" or remake a garment using this Party Dress pattern from the Cottage Home.
So I have to say that I absolutely adore this style of dress. Big ol' sashes and bows on little girls are my weakness. How much cuter does it get? But when the word "remix" came into play, I decided to step outside of my oh so comfortable and cozy box. I don't do this very often. But I figured that since this was a challenge, I would challenge myself! 
I was walking through a kids clothing store the other day, and found the most adorable little bright pink trench coat. But the price was not so adorable nor little. So I passed. But when I started thinking about how I could remix the party dress, the adorable little bright pink trench coat came back to my mind. It was a eureka moment, if I ever have anything remotely close to those.
And so this little "trench-inspired" coat was born from a little remixing of the Party Dress pattern.
I was a little nervous to start this project. For the following reasons: 1, I am a pretty good pattern follower, but NOT a very good pattern maker, and in order to do a coat I would have to add sleeves myself. Eeek! and 2, if my attempts at reason #1 went astray, I would waste this darling Sarah Jane Anchor fabric. Double eek! 
But as you can see, it kind of worked out. 
 The outer fabric is from Sarah Jane's Out to Sea line, which I bought a few months ago and have been hanging onto because I just adore it and couldn't decide what to make out of it! I was happy to finally pull these little anchors off the shelf and bring them to life. Since it's still chilly here in PA, I lined the coat with navy blue fleece.
Other than the anchors, the colors (which were my wedding colors!), I think the little bow I added to the back may be my favorite part. 
I basically constructed the coat the same as the original dress pattern, but I made it backwards, so the opening was in the front. I used top stitching along the way because I think it made the coat look more professional. And of course I added sleeves. Which wasn't as tricky as I originally thought. 
I also added a few details to make it look more like a coat and less like a dress, like the fleece mock collar and these little cuff loops. I think I might have just made that term up. Anyone know what to call these? White buttons add details to the cuffs as well as keep the coat closed.
I think she likes it! I think I do too! Thanks for sharing this project with me!  

Looking forward to next week...Stripes and Polka dots. Two of my favorite prints! 
I already have my dress for next week made...but you'll have to wait til next week to see :)


Friday, November 2, 2012

Days of Thankfulness: Day 1 & 2

So a friend posted this on Facebook. I am sure you have seen it as well. "22 Days of Thankfulness." A kind of countdown if you will, each day until Thanksgiving you post something you are thankful for. I love the idea, but since I like to keep my status updates strictly for important things like my candy corn addiction and what I ate for breakfast, I decided to blog it instead.

And since I missed yesterday, I'm going to post two today...

Day 1.
I am thankful for my husband, who is the most patient and kind person to ever come into my life. I have the most incredible life and I owe it all to him.

Day 2.
I am beyond thankful for our sweet little Gracie girl. She is such a happy, smart and funny little girl. And because we had her 15 month well check visit today, I'm also so thankful that she is such a healthy little girl and growing so perfectly.

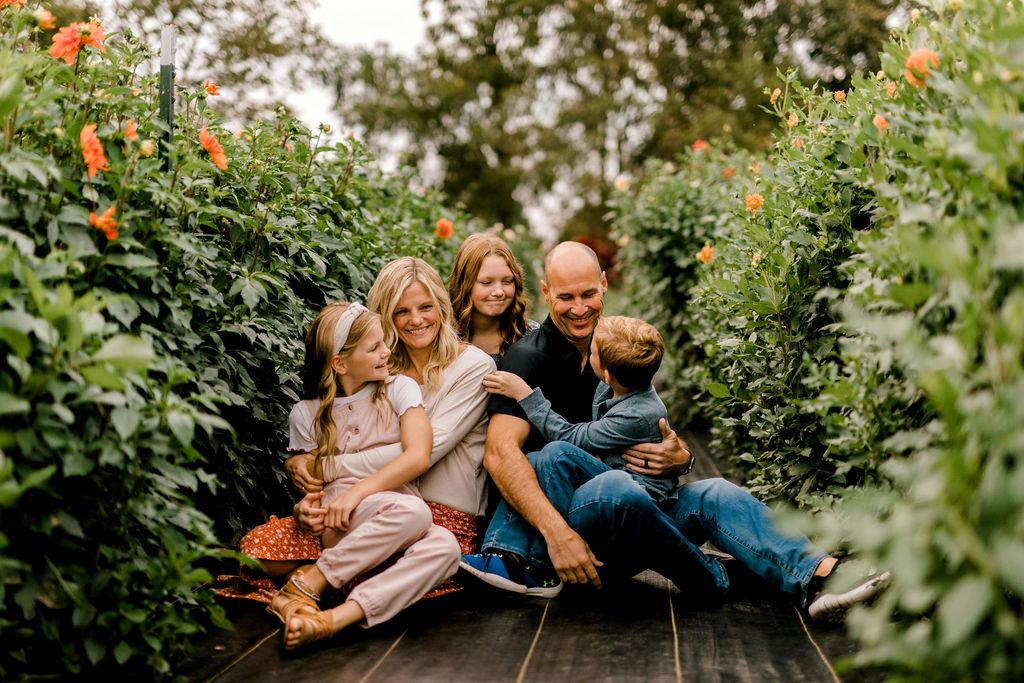
And as a sneaky 3rd thing I am thankful for....is for great friends like Kristina O'Brien who took these gorgeous photos of my family! Please check out her site!!

See you tomorrow!

Thursday, September 13, 2012

My Sewing Room Reveal

I am not pregnant.

I'm sorry. I just needed to disclaim that before we go any further. My old sewing room was in one of our spare bedrooms. So when I mentioned that I was "moving", I got a lot of nosy curious friends (totally kidding, love you guys!!!!) wondering if we needed that room for baby #2. We don't. Not yet. I suppose we will, eventually (EVENTUALLY people!) and so it was a nice bonus for the move. But not the real reason! Ok, moving on. :)

My old sewing room was unorganized, with little storage, and misused furniture. It was always a disaster. I felt like I never got anything done because I just sat in there stressed by the mess. I wish I had a before picture to share with you. You might believe me. It was that bad.

So anyway, I think my sweet, patient husband had finally had enough of the mess and kindly suggested that we create a more usable space for me. We luckily had an empty space off our master bedroom in our house. It was meant to be a sitting room I think, but we really aren't sitting room people...so it had been empty since we moved in. But with a little handy work from hubby, and it's mine, all mine, all mine!

So without further ado...my new sewing room!
Greg made the built in shelf & desk for me out of wood and premade kitchen cabinets from Lowes. Perfect space for my machines and various supplies.
I use 2 tension rods between the shelf and the wall for some easy hanging storage for all those little dresses I churn out.
The other side of the room has an old dresser for more storage, and my cutting table. 
My cutting table for now is a simple folding table, but considering I miss my cutting mat and cut into the table about 90% of the time, a folding table is just fine!
The dresser I bought at a yard sale 10 years ago {wow, am I that old?} for $7. It's perfect for extra storage and for displaying a few things on top.
This box on the cutting table is where I keep all my patterns. I organize them in file folders by size & garment. (It doesn't look all that organized from this picture! Ha...I promise it is. Kind of.)
And that is about all folks. I still have a few touches I'd like to add...like a "Little Pink Peony" sign somewhere...and maybe a new ironing board cover? {Ewww, I know. Please don't judge me!} 
But for now, I'll deem my little room just about perfect. If only peonies were in bloom instead of hydrangeas... ;)
Thanks for letting me share my space with you all!