Friday, July 22, 2011

30 minute nursery lampshade

In the midst of all my unpacking and organizing a new home, I'm also hurrying to finish up Baby G's nursery! (Which is by far way more fun than unpacking!)

I put a low bookcase next to the glider in her room, and I wanted a small lamp on it for things like reading books and seeing those cute baby cheeks. I had an old lamp that has been stored in our basement for the past 2 years which I pulled out and cleaned off. I liked the brushed nickel & sparkly glass base but the white lampshade was looking a little dingy and definitely missing something.
I found a pillow at Marshall's a month or so ago on clearance for $7! I thought it fit perfectly in the room with its little sewn on flowers of lavender felt, and decided that it would make a great "inspiration" for my lamp shade project.
I picked up a stem of little silk lavender flowers at Hobby Lobby for $2.25 and pulled out my little hot glue gun.
I just hot glued the flowers randomly as I wanted around the lampshade. Easy peasy. It took me about 30 minutes from start to finish.
Now we have a much more suitable lamp for our little girl!

I'll post a big reveal of her nursery soon but I still have a few looming projects to finish up! 
I'm going on 37 weeks and counting so I guess I had better hurry up...eeek!

Wednesday, July 20, 2011

Double the Ruffles Birthday Dresses

My good friend Jennilee has the most adorable twin girls who just celebrated their THIRD birthday.  Every year she has had their birthday party dresses hand made. And this year she asked ME! ME!! The chance to make not one but TWO girly party dresses?
I obviously said yes!  
The only request was that they have ruffles (woohoo!) and not be completely matching...coordinating, but not identical. Just like her girls. :)
Can we pause for a moment and talk about how stinkin' cute they are? Ok, moving on...
The white top of the dresses I made out of the pre-shirred fabric that you can buy by the yard at the fabric store. The ties at the top are made with store bought white bias tape sewn around the arm holes.

I gave one dress a fabric bow, the other a fabric flower...
...and of course a matching hair clip.
And each dress had 4 layers of delicious ruffles.
Jenni originally wanted chiffon. But without a serger, I am not that cruel to myself. I just couldn't foresee hemming all those slippery edges! So I found this cotton fabric, that was kind of opaque and embroidered with sparkly thread.
Perfect for swinging in the sun...
Or checking out the view from your new clubhouse...
Or just enjoying being three.
Happy Birthday to these sweet 3 year olds!
And thank you to their Mama for giving me such a fun project! I loved being part of their special day!


Tuesday, July 19, 2011

Summer in Maine

Hi world...I'm alive and well. Greg and I have had a busy couple of weeks, but I'm happy to say we are finally getting back into the swing of things again...at least until the baby comes. :)

We just got home from a week in Maine. I think it's safe to say there is no better place to be in the summer than in Maine. And there's no better place to be in the summer in Maine than on the coast! We headed down to Sand Beach (which is in Acadia National Park, for all you non-Mainers) for an afternoon with Greg's sister, brother in law, and adorable kiddos.
A few brave souls were crazy enough to go swimming (the water was probably only about 55 degrees!) 
We stayed a little closer to shore, wading in the waves and crab hunting on the rocks....
And taking in these mountain views...which are gorgeous and surround the entire beach.
Living in Central PA I get a little nostalgic for my time in Maine, because a day at the beach is a 4 hour drive away now. Sitting here smelling the salt air, the wind in my face, the sand in my toes, it was a recipe for instant happiness. No, it really doesn't get much better than this! 
Unless you get to spend your beach afternoon with these cuties!
 I'm telling you...there's just something special about the Maine Coast that you wont find anywhere else.
Thank you, Maine. You're beautiful. Don't ever change.

Normal craft blogging to resume tomorrow. :) I have lots of nursery projects to post, so stay tuned!!

Sunday, July 10, 2011

One Year

One year (and one day...oops :) ago today, I married the most kind & handsome man I've ever known...
and today I couldn't imagine life being any sweeter.
Happy 1st Anniversary and so much love to my sweet husband! 


Friday, July 1, 2011

Home Sweet Home...again

Cricket....cricket....

Yes, I know...my first post in weeks! What can I say, sometimes life just gets in the way. But I have exciting news. We're MOVING! Again. Yes, again. This will be our 3rd move in the last year. No, we are not nomads, or gypsy travelers, or convicts on the run. (Although at times I feel this way!) It's just the way the cookie crumbles.

Job transfers, job offers, and apartment changes were the culprits of most of these moves. But yesterday we closed on our new house here in PA!
I'd like to say we are staying put for awhile...because I absolutely love this house.

I can't wait to get my DIY hands on it! It is only 2 years old, so there isn't too much to be done, but every wall is white, a total blank canvas! And you can see from the pic...some serious gardening needs to be done! I can't wait to paint, organize, decorate, and set up our Nursery for Baby G. But most of all I can't wait to let the dust settle...to unpack for "good" and to call this house a home as we start our new family of three.

Needless to say, the sewing and crafting might be put on hold for a while, but you can expect a lot of decorating posts to come!!

Thursday, May 26, 2011

Make Your Own Quilted Fabric

Yesterday I posted about the Kindle case I made for my mom. Remember the quilted fabric I made for the lining?
Quilted fabric is great to use on a variety of projects, as it has built in padding and makes for a more sturdy construction than unquilted cotton. But if you buy it prequilted at the store, it's upwards of $20 per yard. So today I thought I'd show you all how I did it. Maybe you all know how already...but maybe you don't? If not...read on! :)

Step One: Cut your fabric. 
You will want to cut 2 pieces of fabric per each single finished quilted piece you'll need. Cut your fabric an inch longer and wider. In this example, to make ONE piece of quilted lining, size 8"x10" for the Kindle case, I cut TWO rectangles 9"x11".
Also cut out one piece of batting size the same size as your fabric above.
Step Two: Draw your quilt lines.
I'm sure real quilters don't need to draw grid lines, but I do. And it was easy. On the piece of fabric that was going to be the WRONG side of my quilted fabric, I just drew out the grid lines with a pencil using my cutting map and ruler. Both have 45 degree angle lines, and so I just used those as a guide and drew out a grid.
Step Three: Pin your fabric & batting together.
Make sandwich the batting between the two WRONG sides of your fabric.
Step Four: Sew along your quilt lines!
Step Five: Trim to size as needed.
As you quilt (or maybe it's just me...hmmmm?) the fabric will shift a bit, leaving you with a bit of an off kilter rectangle. This is why we cut the fabric an inch on each side bigger than we needed...it gives you the leeway to square up your edges. Now you have nice even edges and are ready to use it in your project.

There ya go! 
Make it in super cute fabrics and save a bundle in the process!

Wednesday, May 25, 2011

A Kindle Case for Mom

My mother gave me an ever so subtle hint a few months ago that she'd like a kindle case for Mother's Day. It's a good thing she's incredibly patient, since she just received it in the mail. Better late than never right?
I looked at a bunch of tutorials online on making a simple "envelope" style case, but being a glutton for punishment, I decided this one needed a zipper closure instead...
And piping accent trim...
And if you look closely, you can see that on one side, I goofed up a bit while sewing in the piping. I didn't get the seam close enough to the cord of the piping, so it left a gap between the piping and the side seam. Instead of ripping out the seam and re-sewing the piping in closer (ugh) I decided to add a "tab" over that gap. It kinda looks like I meant to do that, right? Kinda?!
I also wanted to use quilted fabric for the lining. But do you know how much quilted fabric is? Like $20 per yard. Eeek! So I made my own, which although time-consuming, is much cheaper, easy to do, and you can use cute, coordinating fabric!
And finally, I made some crushed fabric flowers and a couple embroidered felt leaves to pretty up the outside.

Phew. Needless to say, there was a steep learning curve for me with this project. It was only the 2nd zipper I had ever sewn, my 2nd time using piping, and my first time quilting my own fabric. But I like how it turned out...and it was time well spent for my dear Mama!

I used the following tutorials extensively throughout this project...taking tips from each one. Even if you don't need a kindle case, you can use these tutorials to make great zippered pouches for all sorts of things!
>Photobucket
flexible dreams

Tuesday, May 24, 2011

The Little Table That Could

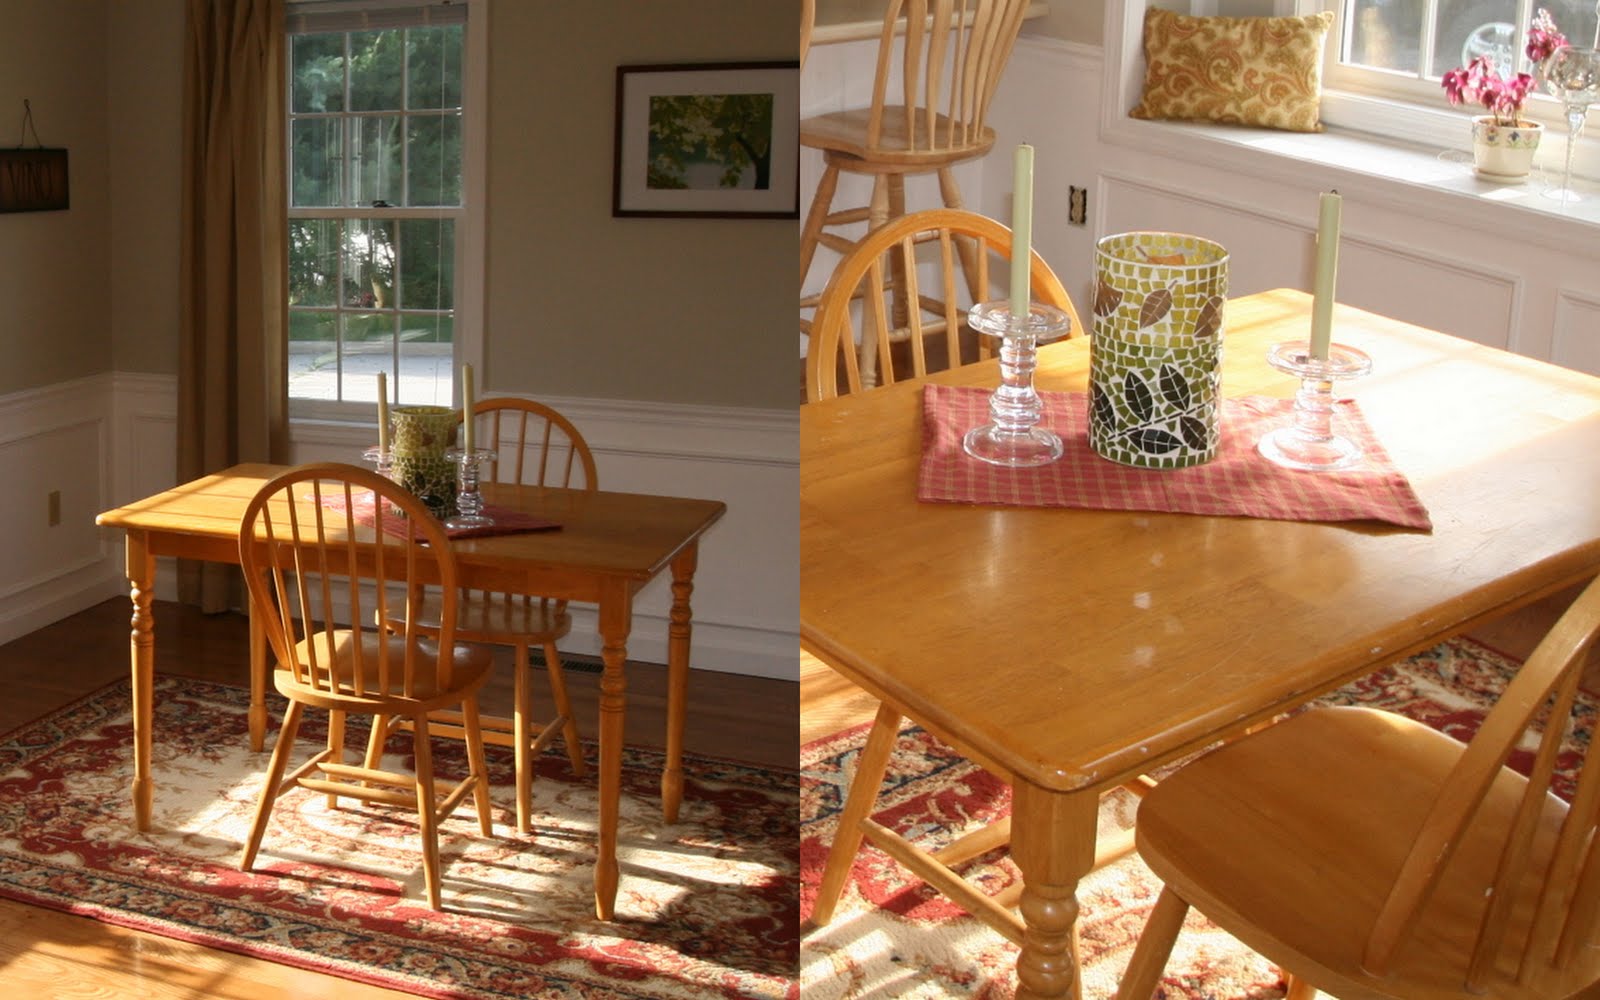
Is it just me or has everyone had a table in this style and finish at some point in their lives? I bought this set ten years ago at a yard sale...and who knows how old it was when I bought it?
The "BEFORE"...the little table pretending to be a dining table in our last house.
The style is ok, but I've never liked the finish. It's just a little too country for my taste. I like my country on the radio, not in my kitchen. The chairs kicked the bucket months (which probably should have been years) ago, but this little table is not even the least bit wobbly after all these years. And the fact that it's on the small side has been a bonus, as we have lived in some tight quarters before. So alas, it has followed me around from place to place through our many moves, and was showing a lot of wear and tear as a result.

Motivated by my endless talk that we desperately needed to upgrade our table to something from this century, my dear husband offered to help me give it a little face lift!
He sanded the top to the bare wood, stained it this great walnut color, and topped it off with 4 coats of poly.
 He spray painted the legs an almond color. We used Rustoleum, which gives awesome coverage without all those drippy drips.
And I absolutely LOVE the result.
I guess this little table will be sticking around for a while longer.

And remember these beloved chairs? (I posted about their makeover here.) They're a bit big for this little table, so they'll be relocated to our dining room in our new house...and this little table will become our breakfast table in our new  kitchen.


Linking to:
My Uncommon Slice of Suburbia

Monday, May 23, 2011

Cheap & Cozy Sleeper

Good morning and Happy Monday to ya all. Things have been busy in the D&G craft room, although you wouldn't know it looking around this blog. I know, bad, neglectful blogger! 
Taken this weekend...28 weeks!
Can I blame it on the baby in my belly? 
Considering so many moms with actual kids manage to blog EVERY. SINGLE. DAY...probably not. But I promise I have a stock pile of projects ready to post...so stay tuned!

But since I have your undivided attention, here's a little fleece sleeper sack that I whipped up yesterday.
 If you remember, I made one of these a few months ago. This time I used a fleece fabric remnant I bought before Christmas in the Joann's clearance bin. I bought it because it was $2 and I just loved the colors!
I managed to squeeze all the pattern pieces out of the half yard. (Which is why you can see the print goes in different directions!)
This is the easiest pattern I've ever used...literally it took me less than a half hour to make. 
Time well spent for a cozy & cheap little sleeper!

Monday, May 16, 2011

Alexa's LBB Birthday Dress

Happy Monday! Hope you all had a great weekend. It was a rainy couple of days here in PA...so G & I got some good relaxing time in. But we also were able to finish up a couple of projects, which will come later this week!

But onto today's post. Today is our niece Alexa's 6th birthday! Last week I posted about her flip flop party favors I made. (Word on the street is that they were a hit with the party guests...woohoo!) Anyway, as her birthday present, I made her a birthday dress!

I made a LBB Sienna dress (quickly becoming my favorite thing to sew!)
The pink & purple sections are cut from 2 clearance t shirts I bought at Walmart for $1.50 each.
They were both womens XXL shirts, and after making this size 6 dress, I had enough left over to make a pint sized mini dress for her American Girl doll. Seriously, how stinkin' cute is a matching doll dress?!
The sleeves are made from a heart knit remnant I bought at Joann's months ago.
I added a "6th Birthday" appliqué on the back.
When I showed the finished product to my husband he said, "Wow, that is one bedazzled dress!"
I guess it does have some serious bling...but what 6 year old doesn't love a little bit ok, a lot of glitter?
(Please let this stand as my public apology to my poor sister in law, who will now forever be cleaning up those sparkles!)

Happy 6th Birthday, sweet girl!